Creating Custom Cores
Learn how to create custom Signaloid C0 processor cores.
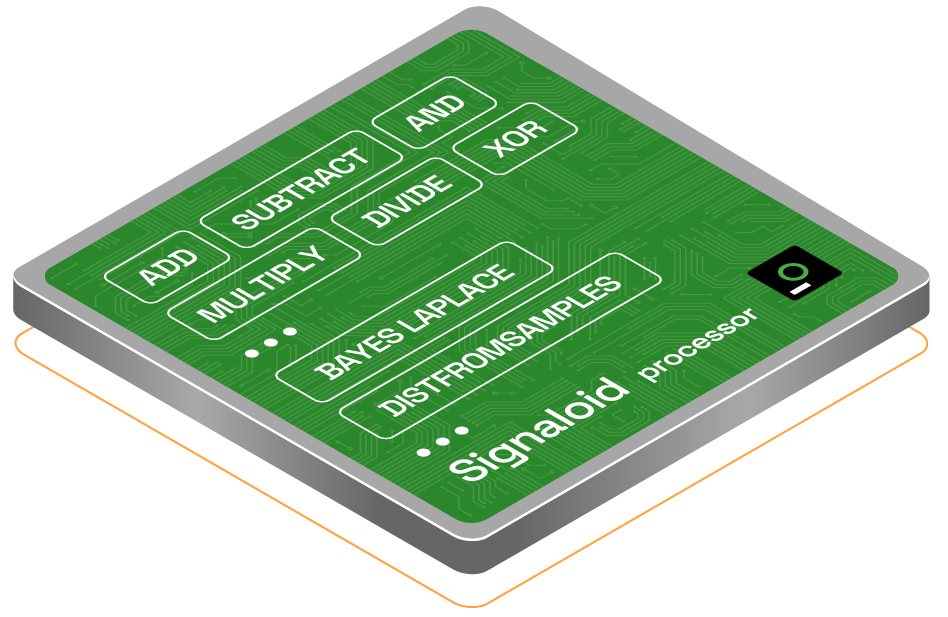
Signaloid C0 processor cores form the backbone of the uncertainty tracking functionality offered by the Signaloid Cloud Compute Engine. You can think of these as being analogous to the central processing unit (CPU) in your computer. However, unlike conventional CPUs, Signaloid C0 processor cores are able to efficiently represent and track how uncertainties in your inputs affect the outputs of you computations transparently to your applications.
Your Signaloid cloud account gives you access to a number of default Signaloid C0 processor Cores. These Cores provide a good starting point for enhancing your applications with uncertainty tracking. You can also create custom Signaloid C0 Cores that are optimized for your specific application workload and extract the most out of the Signaloid Cloud Compute Engine. All applications run on the Signaloid Cloud Compute Engine can use one of these processor cores.
You can define custom C0 cores with different performance, accuracy, and cost characteristics, allowing you to customize them to fit your application demands.
What you will learn
This guide will show you how to:
- Create a custom Signaloid C0 Processor Core.
- Run an application on your custom Signaloid C0 Processor Core.
Creating a new core
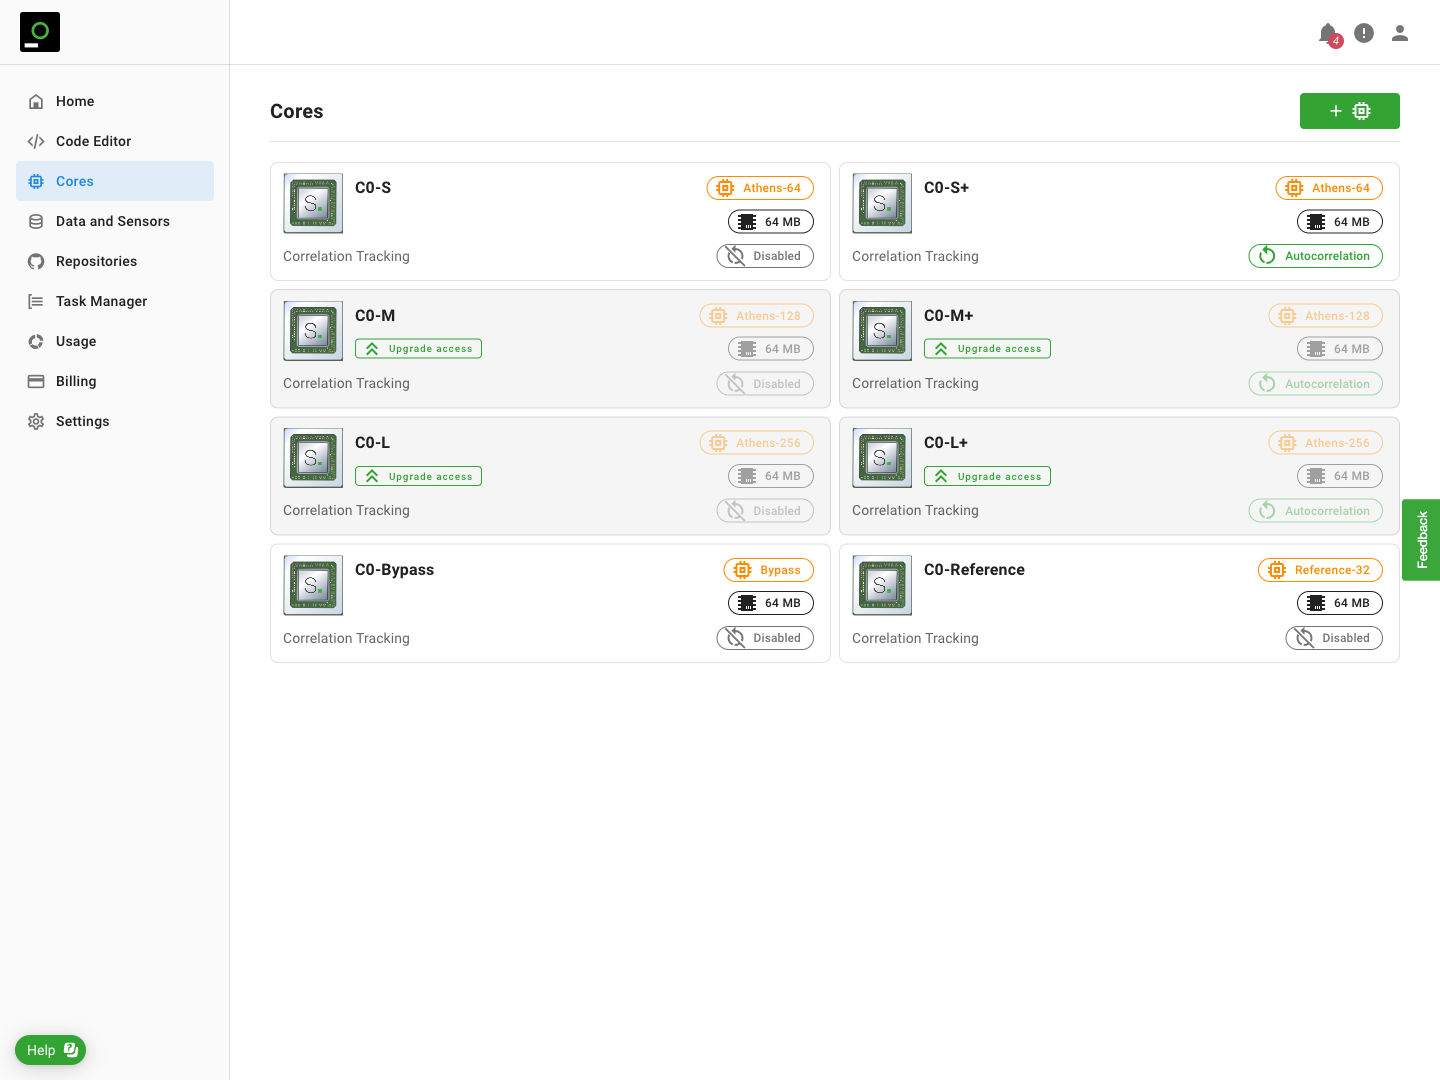
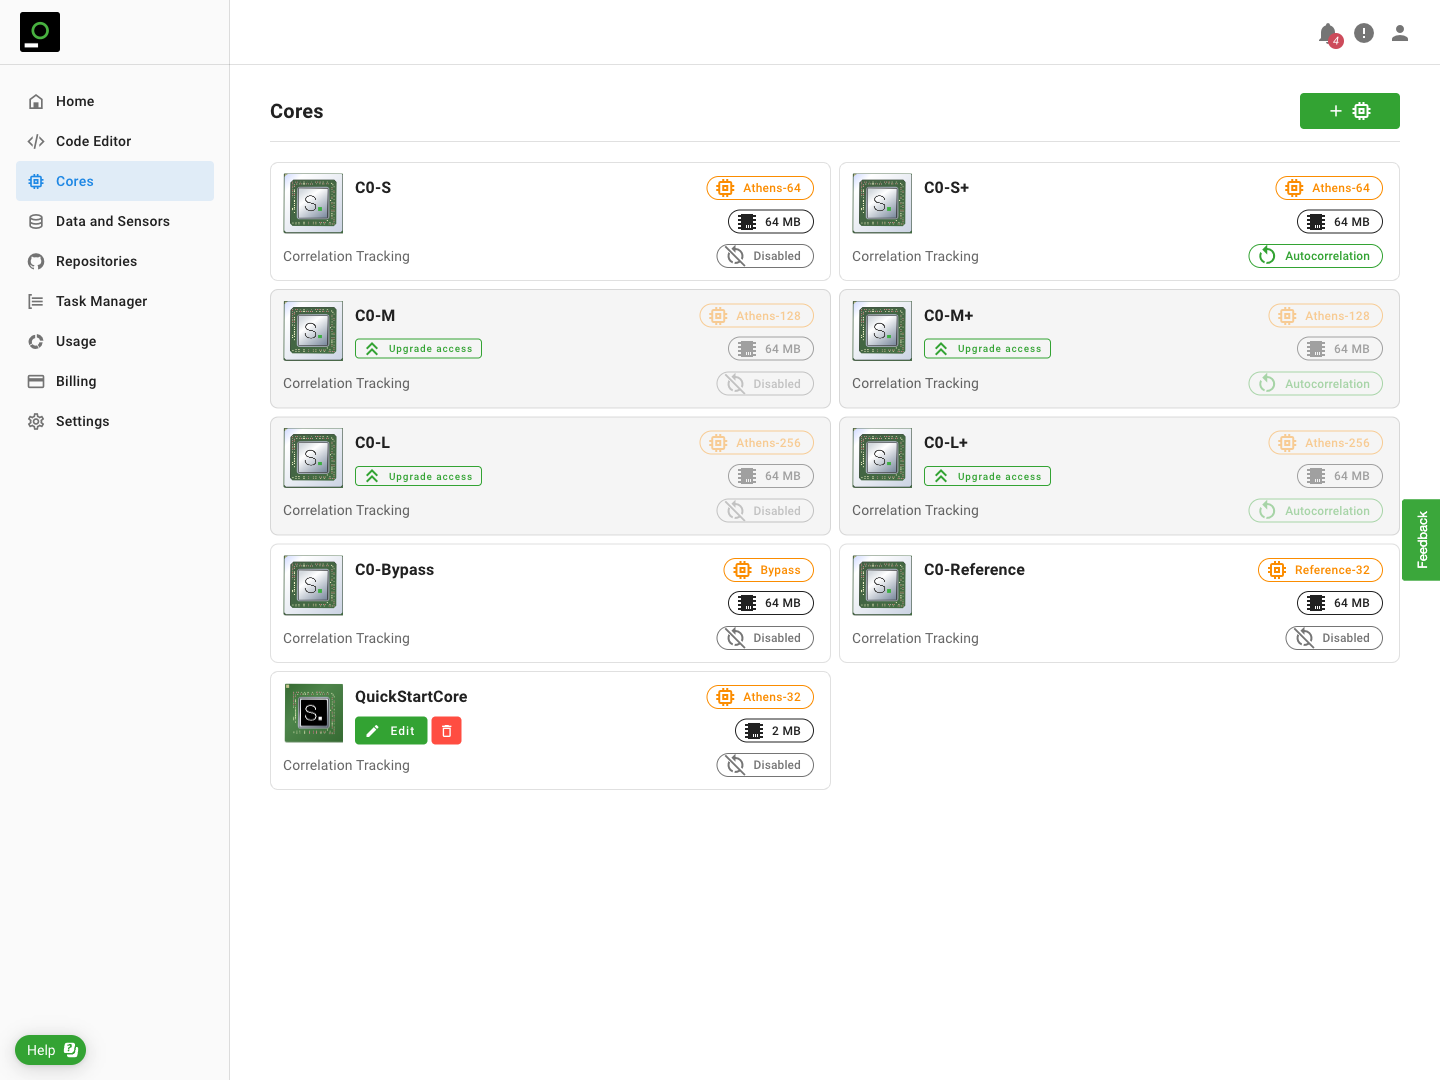
In the Cores page (Figure 2, below) click the green Add Core button (it looks like: ) on the upper right-hand corner to bring up the Add Execution Core Dialog.
In the Add Execution Core Dialog (Figure 3, below):
- Choose a Core Name — we will use this name later to refer to the custom Signaloid C0 Processor Core. The core name has no effect on the behaviour of the Signaloid C0 Processor Core.
- Choose a Microarchitecture — see the Cores page for the specification of each Microarchitecture.
- Choose a Representation Precision. Higher values of Representation Precision give more precise distributional results. Not all Microarchitectures support configuring Representation Precision.
- Choose the Memory Allocation for the custom Signaloid C0 Processor Core. Pick a value Applications large enough for the applications you wish to run on this custom Signaloid C0 Processor Core.
- Choose to enable or disable Correlation Tracking. Correlation Tracking can improve accuracy when distributional values within an application become correlated. Not all Microarchitecture support configuring Correlation Tracking.
In this guide we create a custom Signaloid C0 Processor Core called QuickStartCore using the Microarchitecture Athens, a Representation Precision of 64, and a 32MB Memory Allocation.
We leave Correlation Tracking Disabled.
Finally click "Create Core" to create the custom Signaloid C0 Processor Core.

The Cores page will now list your new custom Signaloid C0 Processor Core (Figure 4, below). Should you wish to change any of the configuration options, the Cores page allows you to edit custom cores. Edit custom cores by clicking the Edit Icon to bring up the Modify Execution Core dialog. Edit custom cores the in the same way as you create them.
Finally you can delete Custom Cores by clicking the Icon.
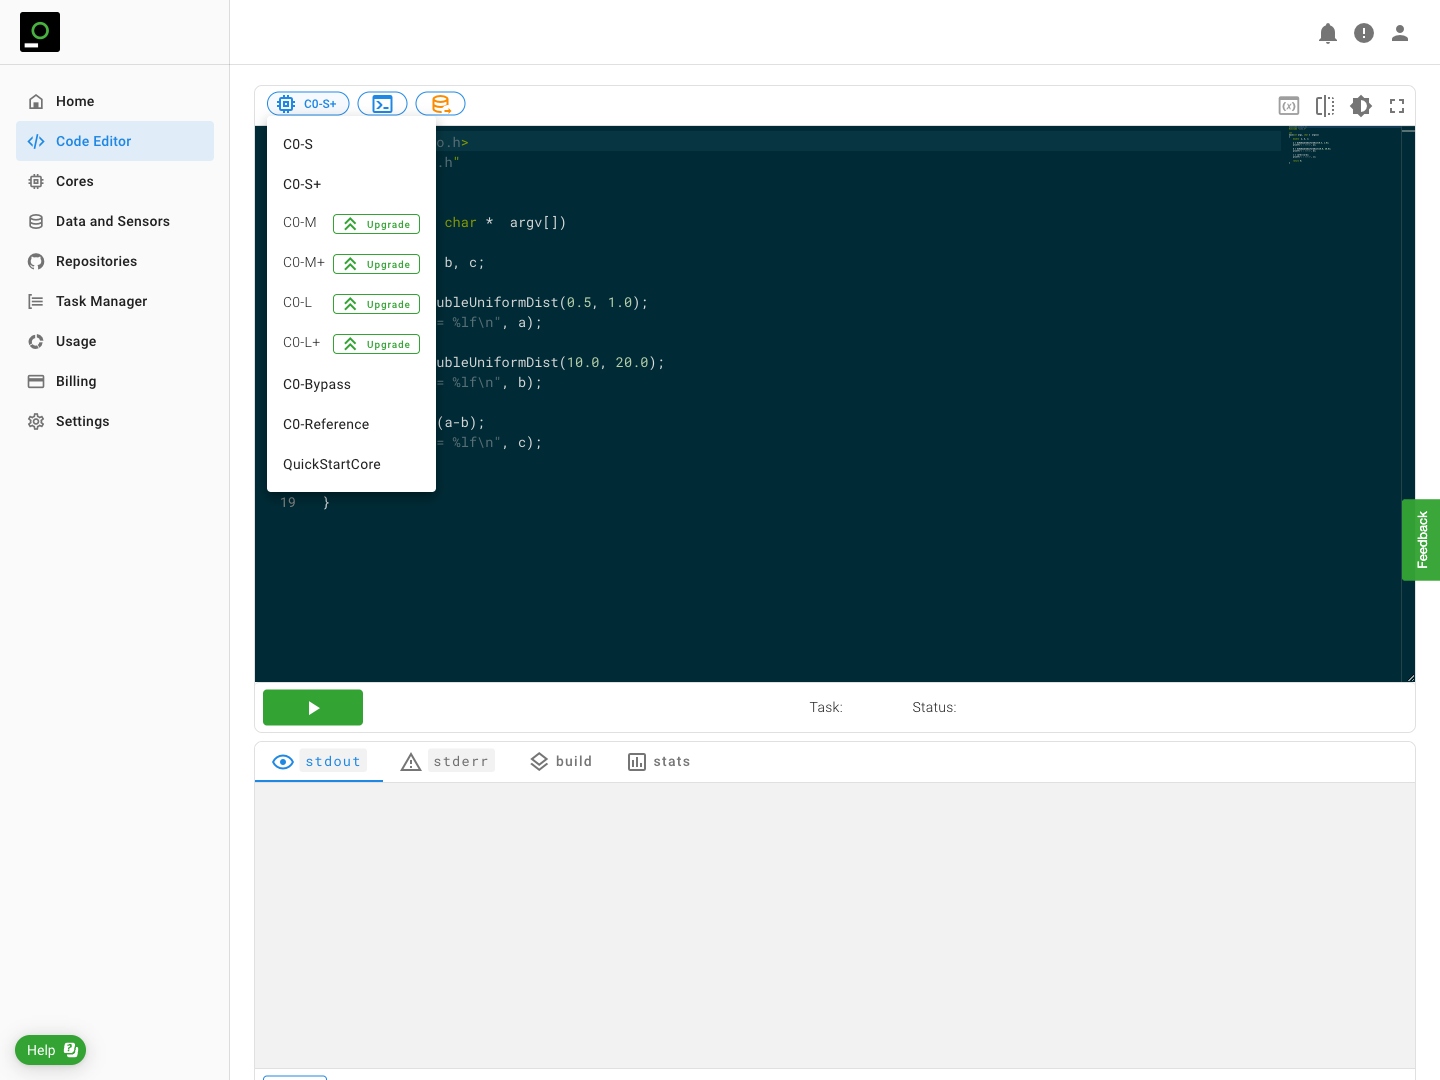
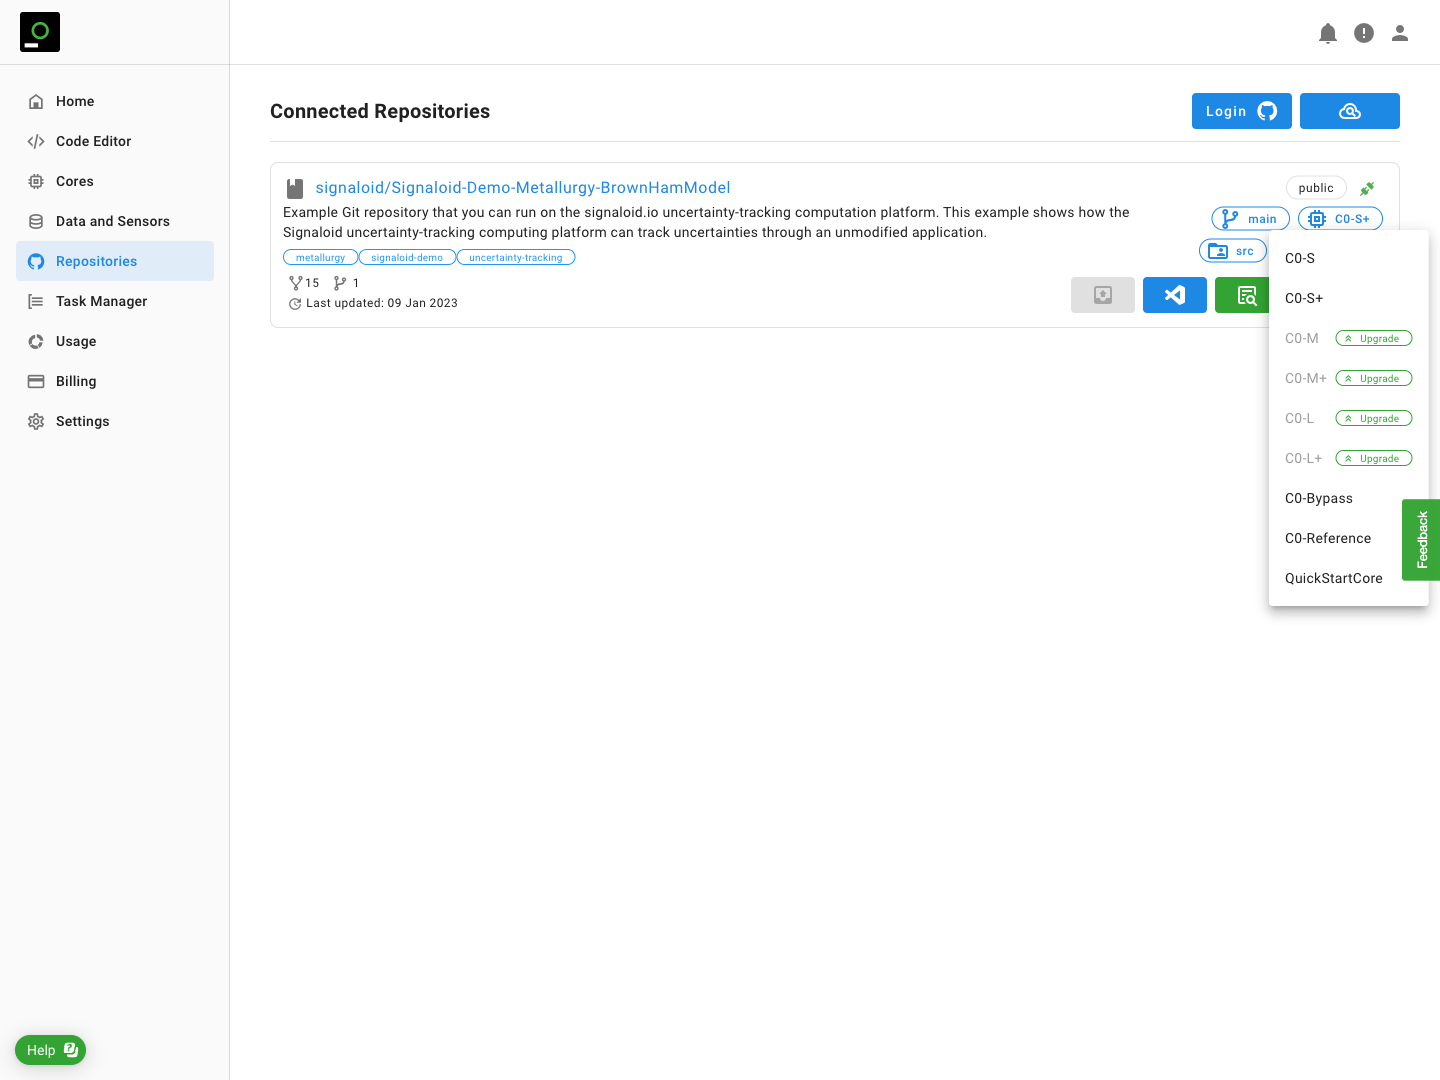
Using a custom core in an application
Before you run an application on the Signaloid Cloud Developer Platform, you can select which Signaloid C0 Processor Core to use. Click the Core Selector icon in either the Code Editor page (Figure 5, below) or the Repositories page (Figure 6, below) to bring up the list of available cores. Select the custom Signaloid C0 Processor Core from this list and then run the application as normal.